The roof of your RV is one of its most crucial components. It protects the interior from water. Water damage should not be taken lightly. It can cause mold growth, property damage, and unsightly stains. Keeping a leak-free roof over your head is one of the most important things you can do for the health of your RV. At least twice a year, perform a roof inspection. Learn to maintain your RV’s roof so the rest of your camper won’t be compromised.
How to Inspect the Roof of Your RV
Always have a friend or family member around when climbing on the roof. Use a ladder to access the top of the RV, taking care to not step on skylights, roof vents, and solar panels. Stay away from the edge while you examine the roof.
First, do a general assessment. Look for any obvious cracks, tears, and holes. Next, inspect around vents, antennas, and skylights. Make sure the seals in these areas are intact. Look at the vents and verify that they are still in good condition. Plastic RV vents can become brittle from sitting in direct sunlight.
Maintain Your RV’s Roof
Keep it Clean
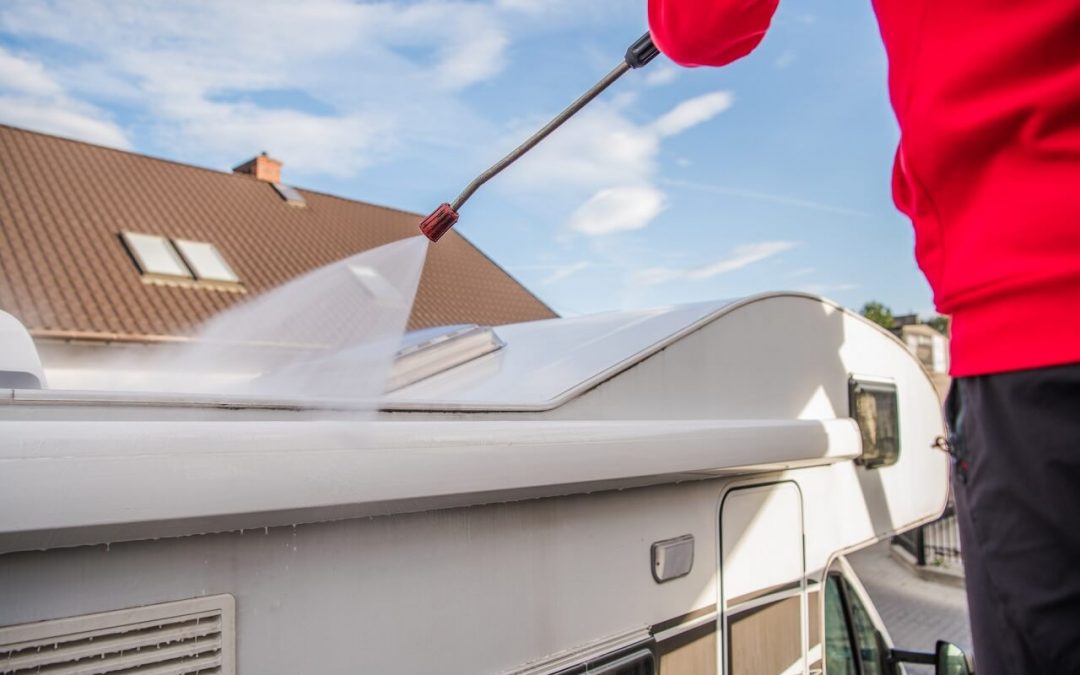
A big part of maintaining your RV’s roof is keeping it clean. This will help keep the finish in good condition. Dirt, dust, and debris can damage the seal of the roof, making the RV more susceptible to moisture damage. Have someone with you to assist with the cleaning. Hose the roof down and scrub it with a specially formulated RV cleaning product, following the directions on the label.
Reapply Sealants to Maintain Your RV’s Roof
Most RV roof leaks occur near the seals around vents and skylights. For maintenance, reseal those areas at least annually.
If you’re storing your RV, install a UV-resistant roof cover. The cover will offer some protection from the elements and extend the life of the roof.
RV Onsite Services offers RV inspections to customers in the Triangle area of North Carolina. Contact us to request an appointment.