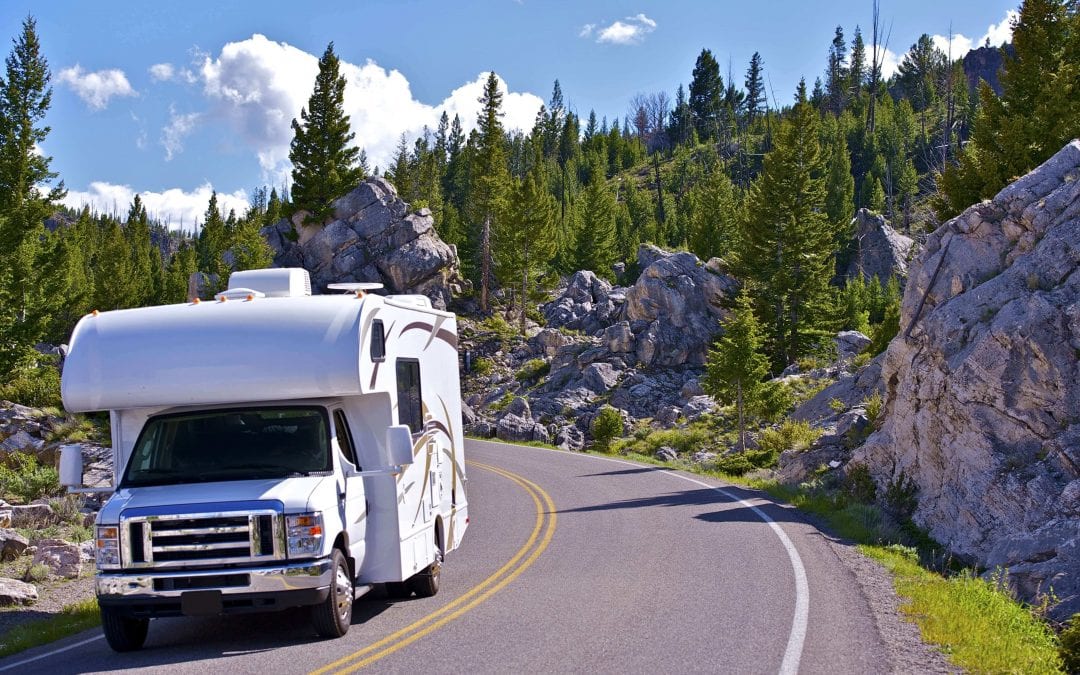
Warmer sunny days are approaching and you’re probably excited to get out and go exploring again. Before you hit the road, you’ll want to prepare your RV. Here are eight steps to dewinterize your RV and get you traveling safely.
Give Your Rig a Good Spring Cleaning
To prepare for your next excursion, begin by washing the outside of the RV. Scrub off the dirt and debris that have collected over the winter. Remember to open up awnings and clean them properly as well. Remove leaves and twigs that are trapped in the awning fabrics and rails.
After the outside is looking good, clean the inside of the RV. Even though it has been sealed up all winter long, dust accumulates and bugs can find their way in. Remember to clean surfaces with products approved by the RV manufacturer.
Inspect Your RV’s Exterior and Interior
An important step in dewinterizing your RV is to inspect plastics and accessories on the exterior of the RV. Look for any cracks or damage. Examine sealants around windows, doors, roof vents, skylights, and other areas where there are seams. Strip away any damaged sealant and replace it.
Look inside the vehicle for any signs of dampness or water staining from leaks. If you found any signs of rodents when cleaning, try to locate and repair the small spaces where they found their way in.
Check the Electrical Systems
If power hasn’t been connected to your RV for a few months, the batteries are probably going to be depleted. Take steps to dewinterize your RV batteries before charging them. Clean off any corrosion from the battery connections and cables. Inspect the battery casings for any cracks. Charge the batteries and check the fluid levels. If low, add distilled water. Avoid splashing and remember to wash your hands after filling the batteries.
Test all electrical appliances and electronics. Ensure that they are operating properly. Listen for any unusual sounds from the refrigerator, air conditioner, or fans.
Prepping Your Plumbing
Be sure any low-point drains have been closed if they were left open. Connect your drinking water hose to the rig’s city water inlet. Inspect water connections for leaks. Turn on all faucets and showers to flush the RV’s plumbing of antifreeze.
Flush the Water Tank and Pump
Before filling your fresh water tank, for proper hygiene and by standard practices, it is recommended to sanitize the plumbing system prior to use and to help remove odors. Turn off the city water and run the water from your fresh water tank until it empties. Don’t allow the water pump to continue running after the tank is empty. After clearing out the RV’s water system, refill the fresh water tank.
Steps to Dewinterize Your RV Holding Tanks
Allow your gray and black tanks to fill with water and check for any leaks outside the RV. Check that the wastewater connections are secure and that the dump hoses are in good shape. Make certain the dump handles are operating properly. Lubricate the handles and waste tank valve seal if they stick.
Inspect the Tires
Inspect your RV’s tires for signs of excessive wear or damage. Check the air pressure, and fill them to the correct PSI. Don’t forget to check the spare tire as well.
Check Your Propane Tanks and Piping
Attach the propane tanks to your rig. Look closely at the connections and use a gas detector to check for leaks. Propane appliances should not be operated if you suspect a fuel leak.
By completing these important steps to dewinterize your RV, you’ll be confident that your rig is safe and ready to go and you will be ready for the new travel season.
RV Onsite Services offers RV inspection and maintenance services to ensure your RV is ready for your next adventure. Contact us to schedule an inspection.

